2019年7月3日 星期三
安裝 Chocolatey 簡單的用 Command Line 安裝軟體
簡單的介紹一下 Chocolatey:
Chocolatey 是一個類似 Linux 的 apt-get or yum 的功能
讓你可以一個指令進行下載與安裝
過程可以做到不需要人為的操作
達到一鍵安裝應用程式
安裝方式:
用系統管理員執行 CMD
輸入
@"%SystemRoot%\System32\WindowsPowerShell\v1.0\powershell.exe" -NoProfile -InputFormat None -ExecutionPolicy Bypass -Command "iex ((New-Object System.Net.WebClient).DownloadString('https://chocolatey.org/install.ps1'))" && SET "PATH=%PATH%;%ALLUSERSPROFILE%\chocolatey\bin"
安裝完畢
輸入
choco
會出現目前的 Chocolatey 版本號
則代表安裝成功
輸入
choco install winrar
可以安裝 winrar
輸入
choco install winrar -y
則可以連按下同意 Y 都不用按
就安裝成功

Windows 10 用指令呼叫「控制台」等等系統常用服務
CMD 命令模式執行指令:
控制台
control

電腦管理
compmgmt.msc

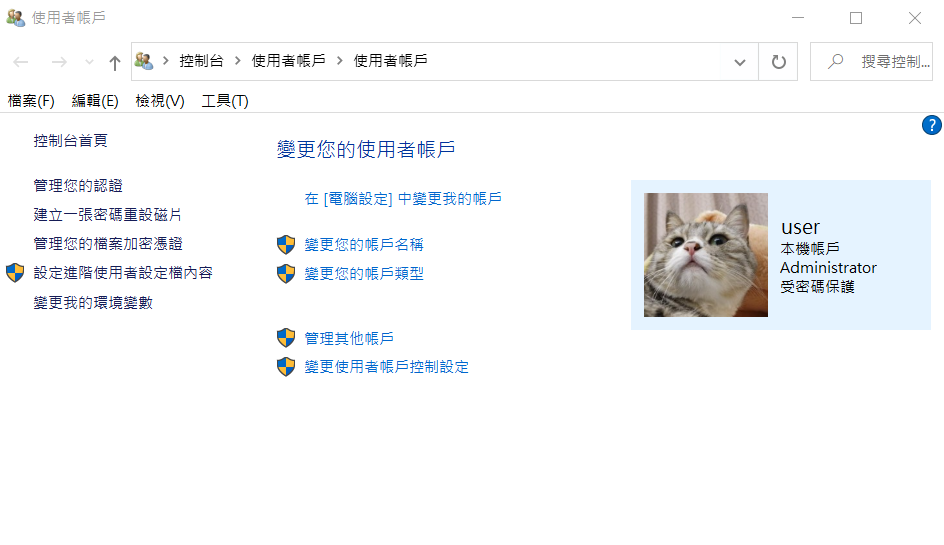
使用者帳戶
control userpasswords
control nusrmgr.cpl

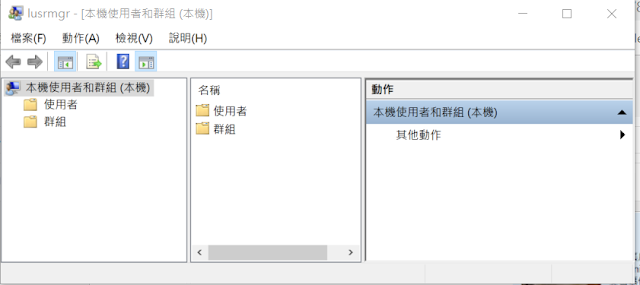
本機使用者與群組
lusrmgr.msc
系統管理工具
control admintools

工作排程器
control schedtasks

控制台
control

電腦管理
compmgmt.msc

使用者帳戶
control userpasswords
control nusrmgr.cpl
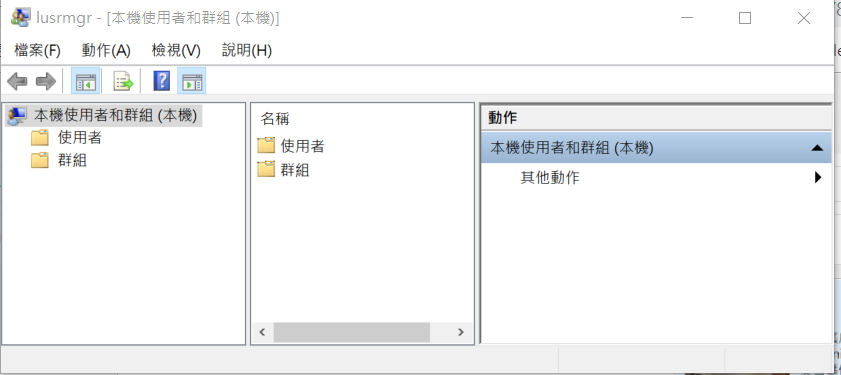
本機使用者與群組
lusrmgr.msc
系統管理工具
control admintools

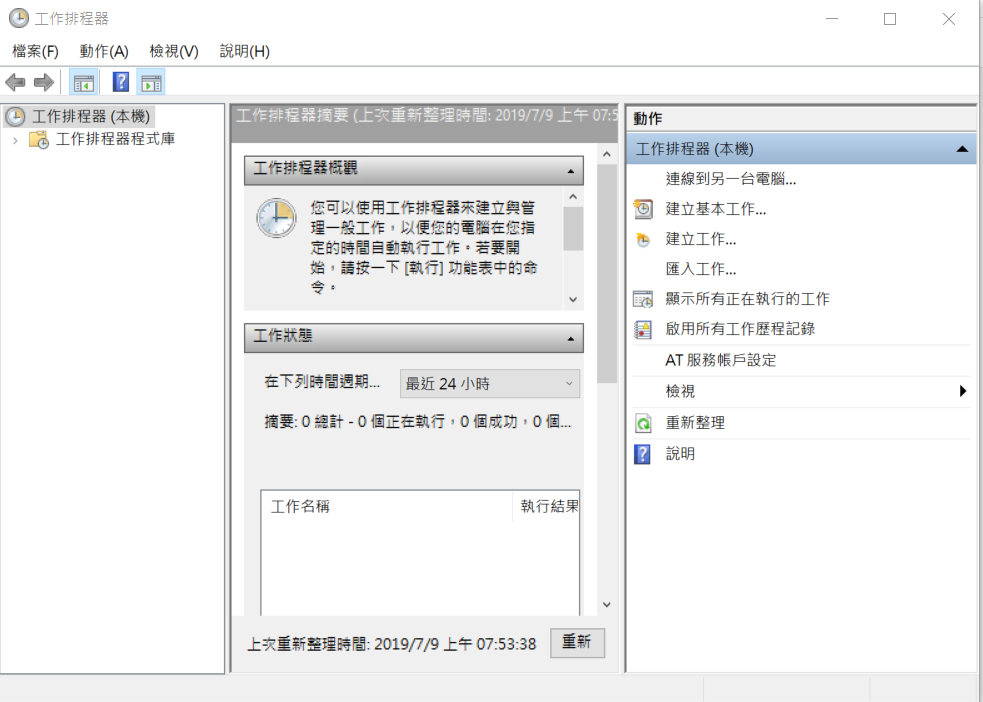
工作排程器
control schedtasks
上傳私有 NuGet 到 Azure 發生 The specified source '你的 Nuget 名稱' is invalid. Please provide a valid source. 的解決方法


讓 Hyper-V 與 VMware 共存在一台 Windows 10 機器上
以系統管理員開啟 CMD 並下指令
新增一個開機選項 『Windows 10 關閉 Hyper-V』:
bcdedit /copy {current} /d "Windows 10 關閉 Hyper-V"
Enter 後出現以下訊息並顯示一串機碼:
已順利將項目複製到 {xxxxxxxx-xxxx-xxxx-xxxx-xxxxxxxxxxxx}
設定開機時選擇選項 『Windows 10 關閉 Hyper-V』 後會關閉 Hyper-V並開機:
bcdedit /set {xxxxxxxx-xxxx-xxxx-xxxx-xxxxxxxxxxxx} hypervisorlaunchtype OFF
重新開機後就會多出一個 『Windows 10 關閉 Hyper-V』 的開機選項了
如果還原原來的狀態
可以刪除開機選項 『Windows 10 關閉 Hyper-V』:
bcdedit /delete {上一步驟複製的 identifier 機碼}
輸入 bcdedit 可以顯示所有開機選項的機碼
可以驗證一下
剛剛的開機選項是否被刪除了
Windows 10 可以設定預設開機選項

解決win10 VirtualBox無法啟動 (VERR_NEM_VM_CREATE_FAILED)
bcdedit /set hypervisorlaunchtype off
重啟電腦就常了
新增一個開機選項 『Windows 10 關閉 Hyper-V』:
bcdedit /copy {current} /d "Windows 10 關閉 Hyper-V"
Enter 後出現以下訊息並顯示一串機碼:
已順利將項目複製到 {xxxxxxxx-xxxx-xxxx-xxxx-xxxxxxxxxxxx}
設定開機時選擇選項 『Windows 10 關閉 Hyper-V』 後會關閉 Hyper-V並開機:
bcdedit /set {xxxxxxxx-xxxx-xxxx-xxxx-xxxxxxxxxxxx} hypervisorlaunchtype OFF
重新開機後就會多出一個 『Windows 10 關閉 Hyper-V』 的開機選項了
如果還原原來的狀態
可以刪除開機選項 『Windows 10 關閉 Hyper-V』:
bcdedit /delete {上一步驟複製的 identifier 機碼}
輸入 bcdedit 可以顯示所有開機選項的機碼
可以驗證一下
剛剛的開機選項是否被刪除了
Windows 10 可以設定預設開機選項
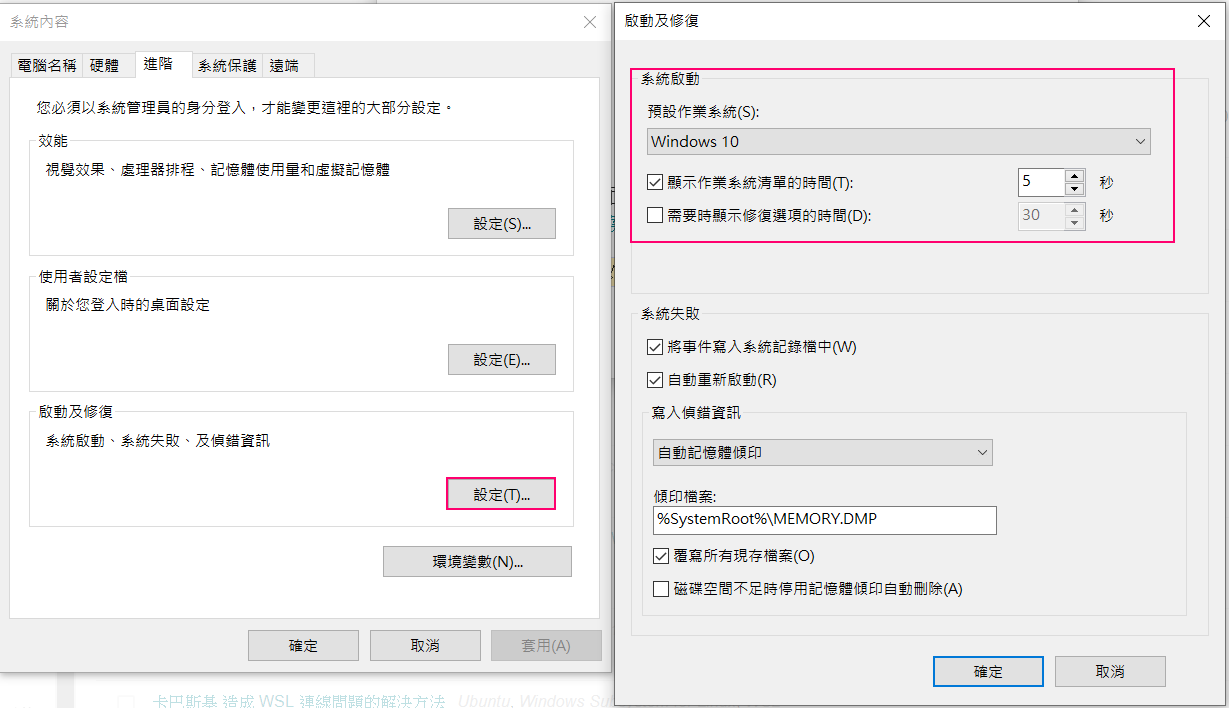
解決win10 VirtualBox無法啟動 (VERR_NEM_VM_CREATE_FAILED)
bcdedit /set hypervisorlaunchtype off
重啟電腦就常了
2019年7月2日 星期二
Windows 10 在多個 .NET Core SDK 指定特定版本號
在目前工作目錄產生一個 global.json 文字檔案
新增內容如下:
{
"sdk": {
"version": "2.2.107"
}
}
也可以用指令產生 global.json
指令內容如下:
dotnet new globaljson (要開檔改版本號)
dotnet new globaljson --sdk-version 2.2.107(直接開檔並指定版本號)
不知道版本號多少的,可以令用指令查詢
查詢目前所有安裝的 SDK 版本號指令如下:
dotnet --list-sdks
新增內容如下:
{
"sdk": {
"version": "2.2.107"
}
}
也可以用指令產生 global.json
指令內容如下:
dotnet new globaljson (要開檔改版本號)
dotnet new globaljson --sdk-version 2.2.107(直接開檔並指定版本號)
不知道版本號多少的,可以令用指令查詢
查詢目前所有安裝的 SDK 版本號指令如下:
dotnet --list-sdks
測試中意外刪除了一些快取,讓系統多出了快 10 GB
輸入 dotnet nuget locals --clear all
info : 正在清除 NuGet HTTP 快取: C:\Users\user\AppData\Local\NuGet\v3-cache
info : 正在清除 NuGet 全域套件資料夾: C:\Users\user\.nuget\packages\
info : 正在清除 NuGet 暫存快取: C:\Users\user\AppData\Local\Temp\NuGetScratch
info : 正在清除 NuGet 外掛程式快取: C:\Users\user\AppData\Local\NuGet\plugins-cache
info : 已清除本機資源。
執行的有點久,但是執行完,C 槽就增加了 10 GB左右。
類似 Visual Studio 的 「清除所有 NuGet 快取」

2019年6月29日 星期六

2019年6月27日 星期四
怎樣移除 ASP.NET Core 用 docker 來偵錯
用 NotePad++ 開啟 <專案名稱>.csproj.user
修改下列設定:
<ActiveDebugProfile>Docker</ActiveDebugProfile>
改成
<ActiveDebugProfile>Debug</ActiveDebugProfile>
就能不跑 docker 偵錯
修改下列設定:
<ActiveDebugProfile>Docker</ActiveDebugProfile>
改成
<ActiveDebugProfile>Debug</ActiveDebugProfile>
就能不跑 docker 偵錯
VMware Workstation Pro 12 安裝 Ubuntu 18.04 發生「VMware Workstation 與 Device/Credential Guard 不相容」的解決方法

輸入 gpedit.msc
本地電腦原則 ► 電腦設定 ► 系統管理規範 ► 系統 ► Device Guard ► 開啟虛擬化型安全性
選擇已停用

以系統管理員身份執行 Windows Powershell
通過命令關閉 Hyper-V
bcdedit /set hypervisorlaunchtype off
重新啟動電腦就能正常了
2019年6月18日 星期二
Windows 10 利用 Command Line 新增系統環境變數
在 Command Line 輸入下列指令:
setx /M 'EnvironmentVariables' 'EnvironmentValue'
就可以看到新增環境變數了
setx /M 'EnvironmentVariables' 'EnvironmentValue'
就可以看到新增環境變數了
2019年6月17日 星期一


訂閱:
文章 (Atom)
-
 最近電腦沒在操作,CPU 風扇一直高速在運轉,查了一下工作管理員,發現 WMI Provider Host 一直占用著 CPU。 檢查一下「事件檢視器」應用程式及服務紀錄檔\Microsoft\Windows\WMI-Activity\Poerational,發現有錯誤一...
 -
當無法修復或解除安裝 Visual Studio 時, 可以透過 InstallCleanup.exe 工具來移除所有安裝的 Visual Studio。 InstallCleanup.exe 工具所在的目錄: C:\Program Files (x86)\Micros...