上次講到 Swashbuckle 在 Ubuntu 環境,
專案執行發生異常,
於是就換了 NSwag,
目前執行下來沒什麼問題,
這邊記錄一下安裝的過程與要注意的事項。
安裝 NuGet 套件:
NSwag.AspNetCore NSwag 主要套件
NSwag.SwaggerGeneration.AspNetCore 自動從 cs 抓註解到我們指定的 xml 檔案

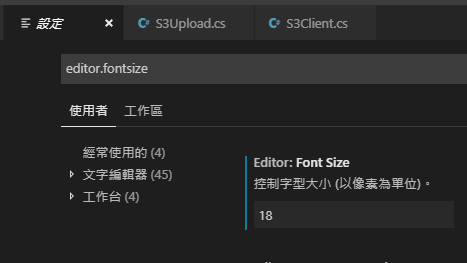
新增「隱藏警告:1591」
PS.特別要注意 xml 檔案名稱要跟專案一樣,才能自動抓取到註解內容
先引用 NSwag.AspNetCore
using NSwag.AspNetCore;
設定一下 Startup.cs 的 ConfigureServices
public void ConfigureServices(IServiceCollection services)
{
 services.AddMvc();


 #region Register the Swagger services

 // Register the Swagger services
 services.AddSwaggerDocument();

 #endregion Register the Swagger services
}
與設定一下 Startup.cs 的 Configure
public void Configure(IApplicationBuilder app, IHostingEnvironment env)
{


       #region Register the Swagger generator and the Swagger UI middlewares

       // Register the Swagger generator and the Swagger UI middlewares

        app.UseSwagger();
        app.UseSwaggerUi3();

        #endregion Register the Swagger generator and the Swagger UI middlewares


        app.UseMvc(routes =>
        {
             routes.MapRoute(name: "default", template: "{controller}/{action}/{id?}");
        });
}
記得註解 <summary> 要寫,每次編譯後 XML 的內容都會更新唷!
/// <summary>
/// 簡單的 Controller 範例
/// </summary>
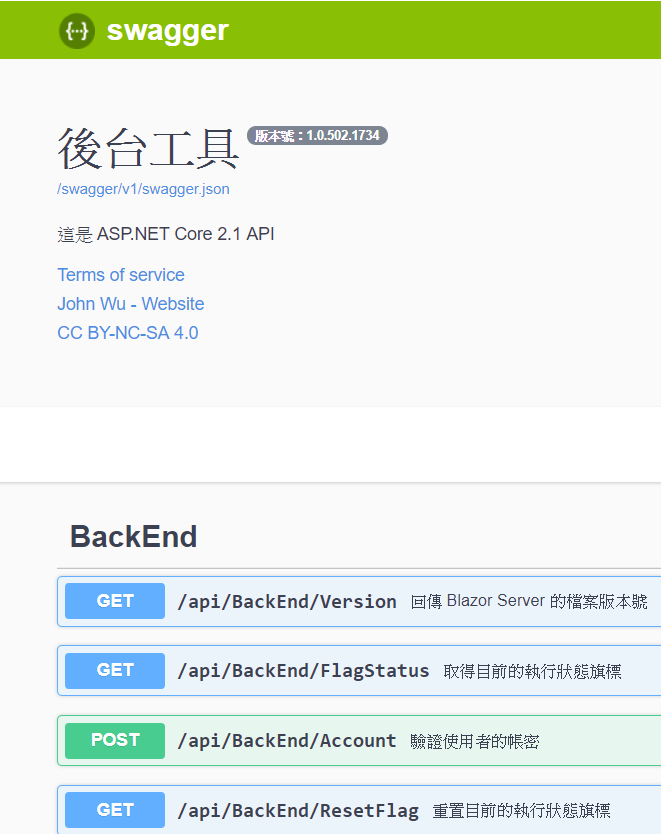
程式開啟後,輸入網址 http://localhost:port/swagger
就能開啟 Swagger UI 網頁